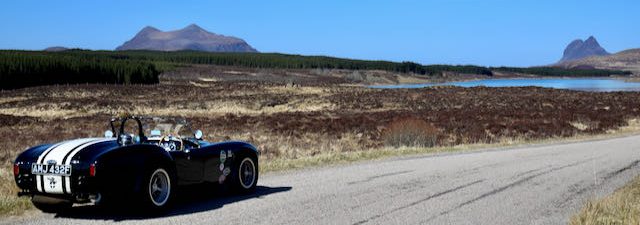
The car has up until now looked a little odd , this was mostly due to not having a windscreen. I had collected the screen from Gerry along with a load of other pieces on a trip home to Cornwall. Sussex is on the way to Cornwall from Scotland – relatively!
So I needed to then fit it. I read and re read the manual to make sure I was doing it correctly. One decision I needed to make was the angle the screen would sit at. The original FIA cars had a steeper rake on the screen for aerodynamic racing reasons. As mine is a FIA body this was the logical angle to follow. However there are downsides to. Should I wish to fit a hardtop at some stage it will be much harder to source one to fit. Also the steeper rake means you are more exposed to the air when driving and tall drivers will literally be looking over the screen.
So after a sit down and a cup of tea I decided to use the standard car rake angle. It will be possible to adjust at a later date should I want to.
The first job was to open up the holes in the body where the screen legs pass through the bodywork. What you are trying to do is make sure the screen does not have any pressure placed on the frame by movement of the body , and so risk breaking the glass. I took my time over this and ended up offering the screen up many times to get it correct. Working on my own on the car has some drawbacks, especially when you are drilling in the footwell area. I needed to ensure the screen was firmly fixed with clamps and the rake angle correct as I drilled through the brass screen legs and into the chassis fixing plates.
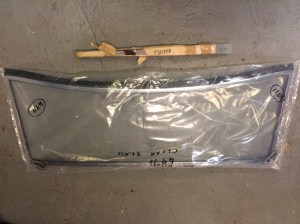
As delivered

Matched legs
Very first part was to attach the legs to the windscreen. The screen are individually made and matched so have numbering on both the legs and screen to ensure their are paired correctly. They are very beautifully made and feel real quality. What you would expect from a Hawk!

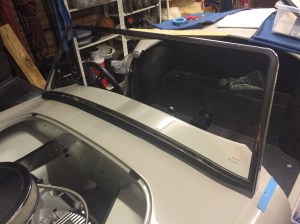
Ensuring the right rake angle
In the manual it say place 3mm ply at either side to lift the screen off the bodywork. I actually had some metal brackets that exact thickness to used them to make that correct.
The other key measurement is the distance from the base of the screen to the rear edge of the door opening. I measured this off and marked it on tape on the body. That way I could align the screen in all dimensions correctly before clamping the legs to the frame ready to drill and fix. I rechecked everything at least twice before committing to the drill! It was nervous and awkward moment given their location.
Still once I had started that was it in needed to complete. There are 3 bolts at each side. You need to remember to use suitable bolts to meet the IVA regulations, so they need to be rounded to pose no threat to limbs.
Getting there!
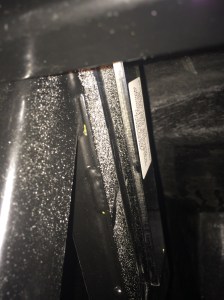
Fixing plate
To also ensure there is no strain on the frame of the screen it was necessary to add some thin aluminium plates between the fixing plate and screen legs.
