
The last job to complete before I can put the body back on the chassis, is to install the side vents. This is a simple job, but having never handled fibre glass and resin before it was a bit of a learning curve. First job was to complete the bodywork preparation. I did this using a mixture of mouse sander, metal files and good old fashioned sandpaper! I found that sandpaper with my fingers made the right shape for the corners. The intent was to make the edges looked like rolled aluminium as best i could. Gerry had finished the wheel arches to give the same effect so I had something to copy. It took sometime but eventually I was happy with the result on both sides.

Before finishing, rough cut edges

Finished bodywork with vents held ready for fixing
I also needed to add some brackets to the vents in order to fix them. Initially I made aluminium brackets and riveted them to the vents. I did not like the sight of the rivets or the fact that once fixed in I could not remove – not that I expected to have too! Even so I replaced the rivets with Rivnuts M3 size, two for each bracket and two brackets per vent. These look much smarter and once the brackets are fixed I can remove the vents. If I decide to paint them for example, I may think back at this decision as a good one!
Once i had them fixed with tape I set about cutting stripes of fibre to the right size then mixing the resin. I bought a kit from Halfords, this is what was included;
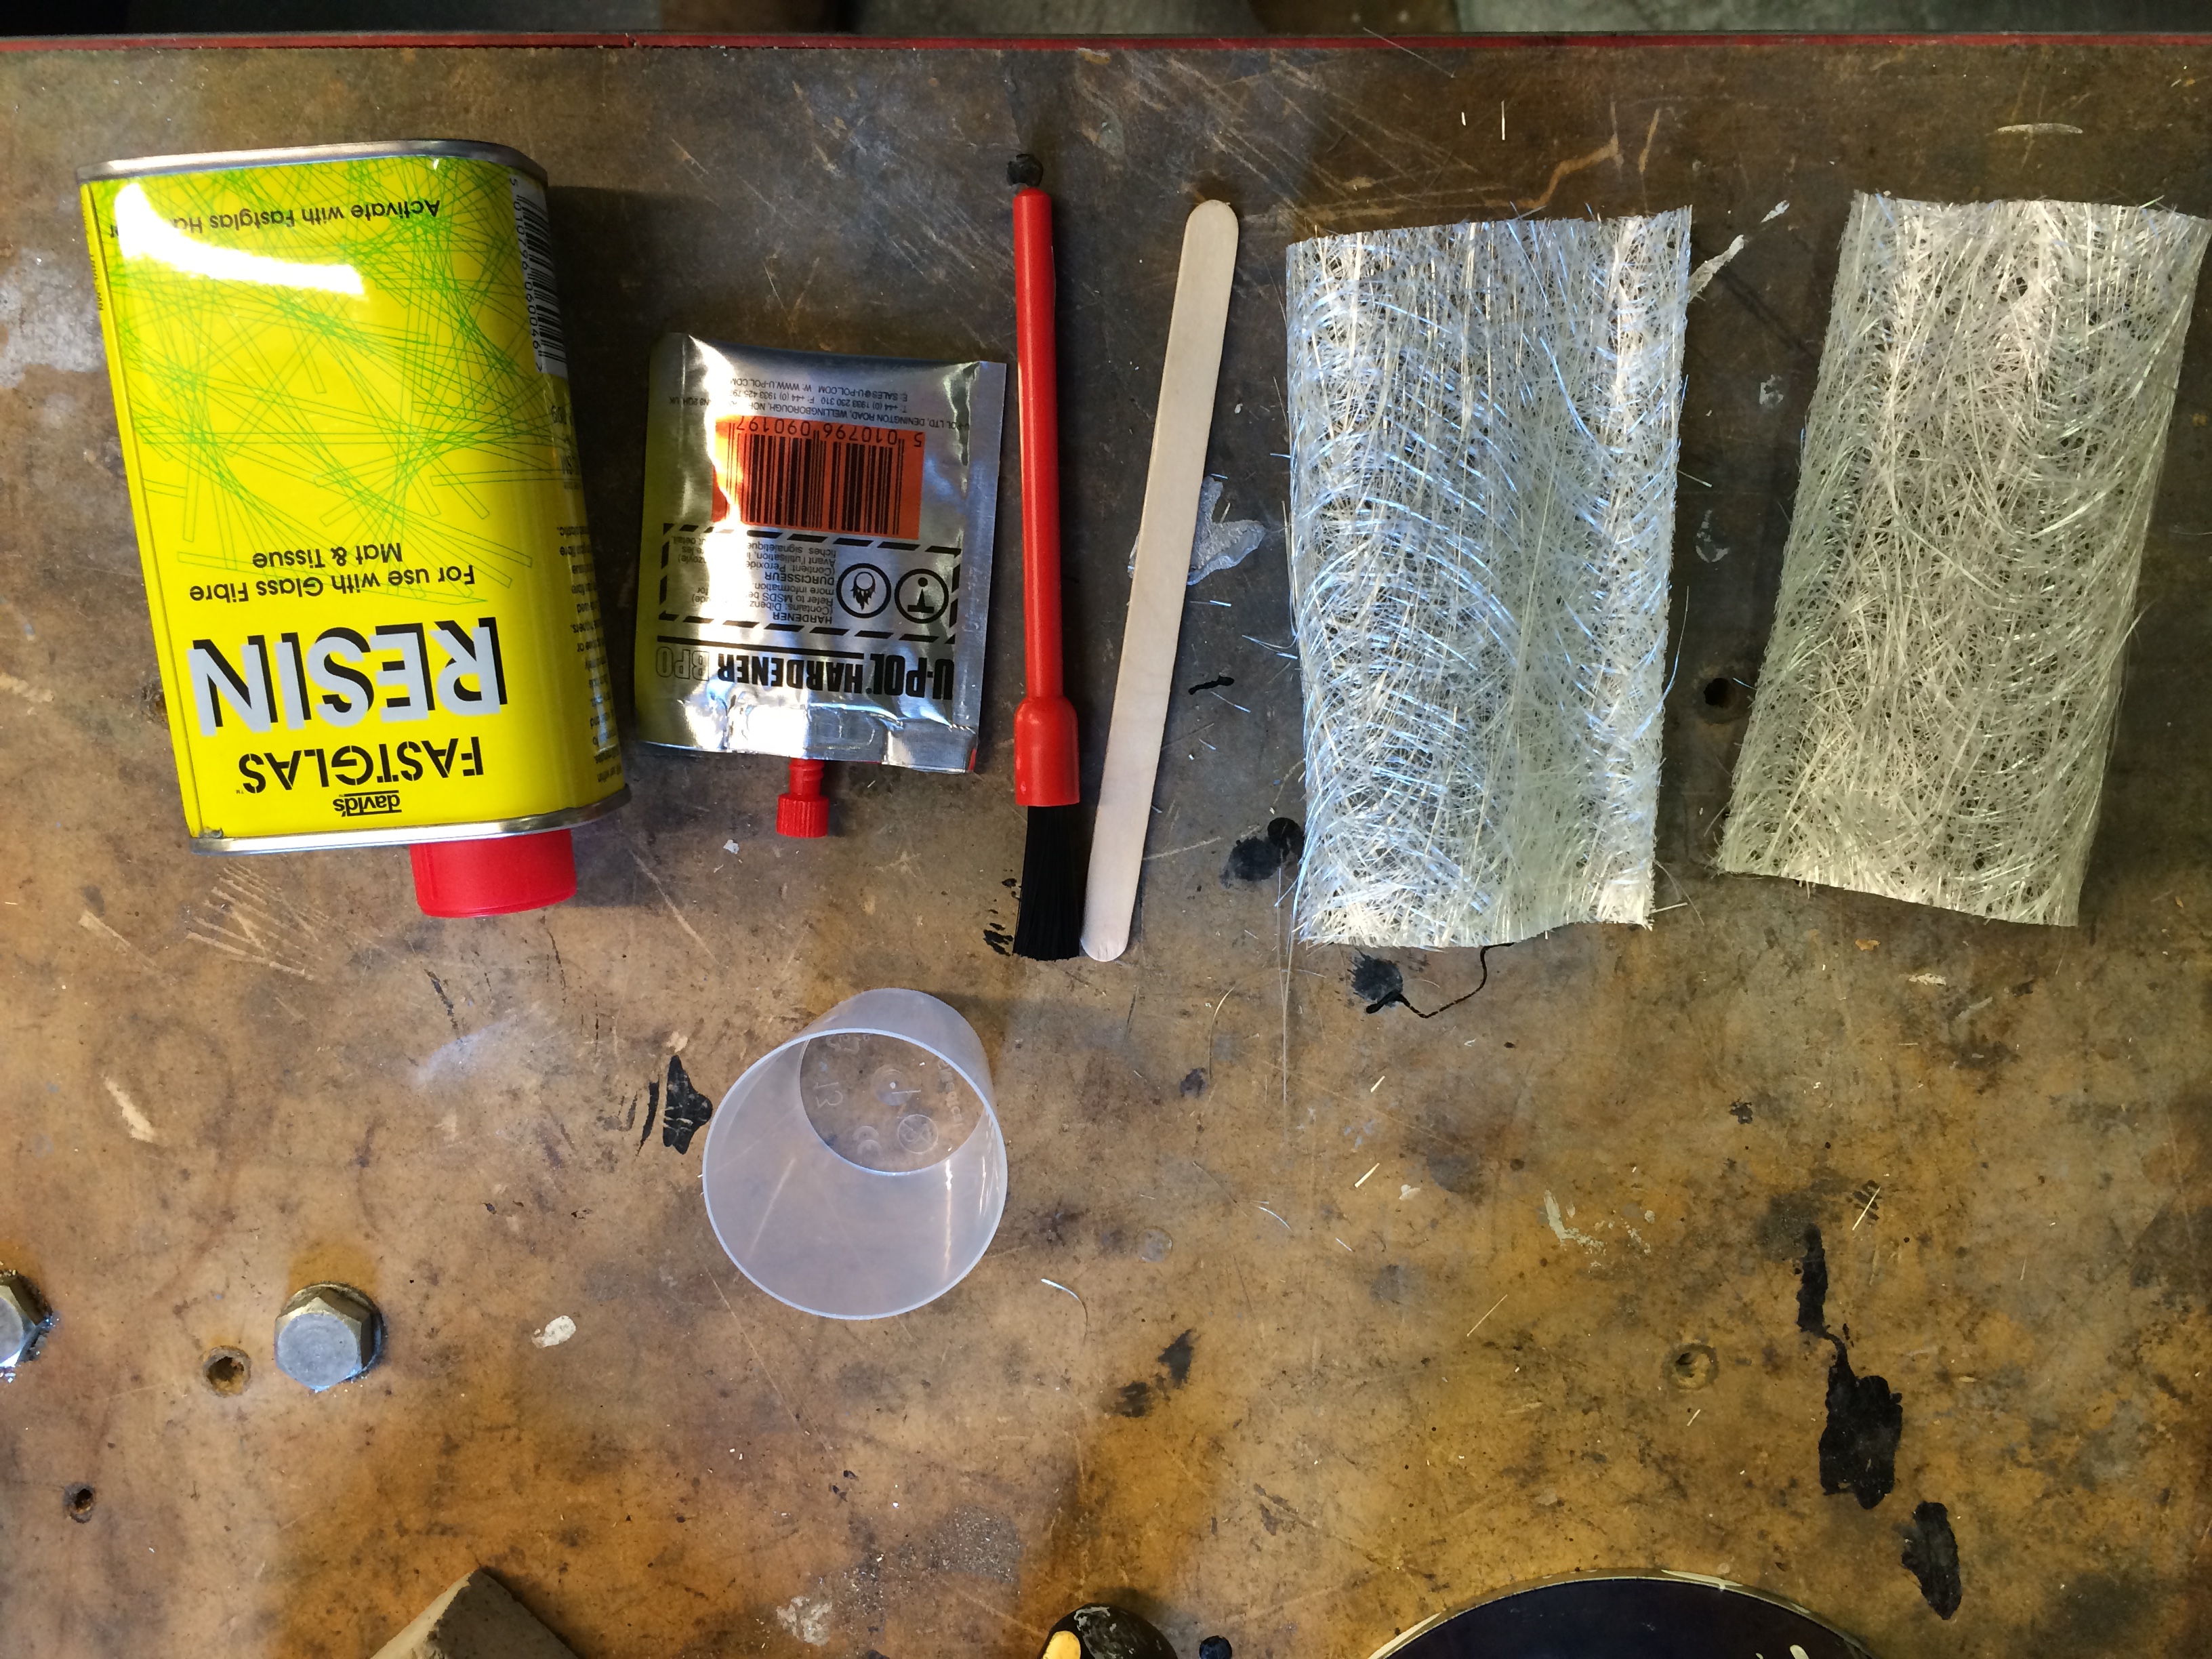
Glass fibre kit
The resin is a nice red colour so you can see where you have placed it! Handy.

First mix complete and going off!
It is a bit of a fiddle reaching in and doing it quite quickly before it hardens. I made up 10ml batches so that I had time. It can be a little runny, you can just see a run on the left of the above photo. I managed to clean that off before it went hard!
I was very pleased with the end result.
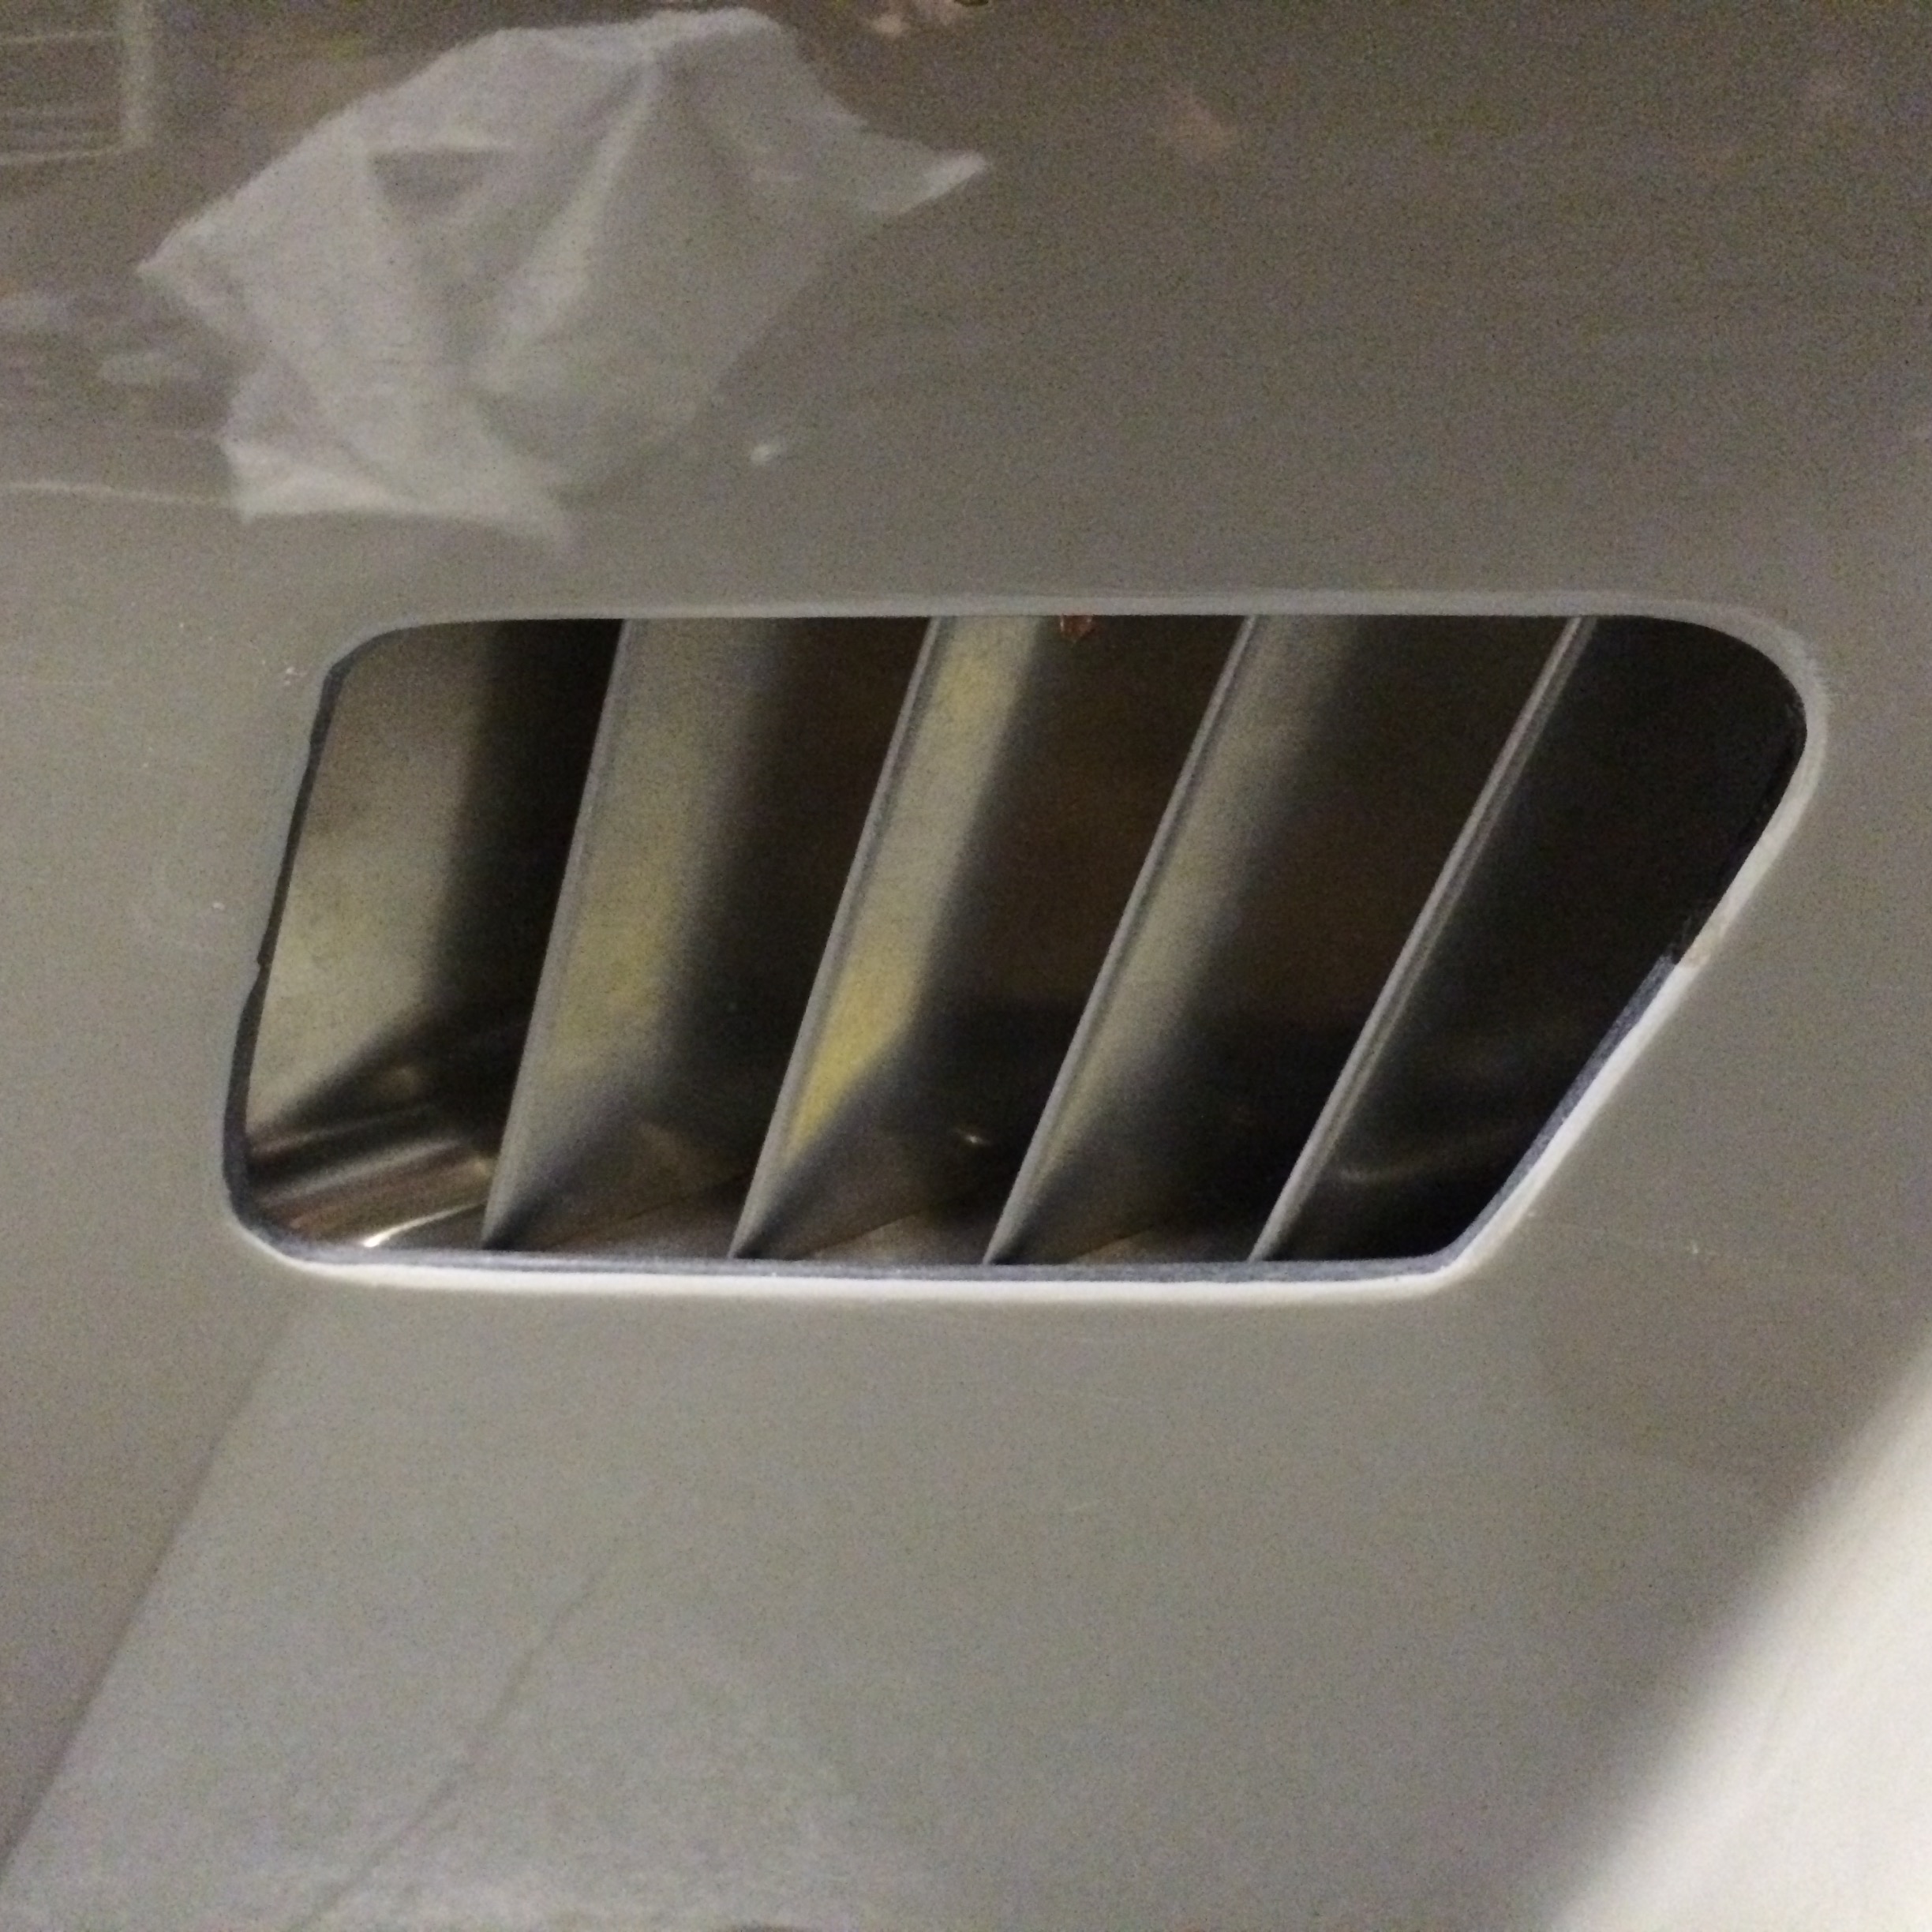
Complete and looking good!
Final task was to paint over the red with the silver I had used, job done.
